Page Contents :
A Digital Guardian
In today’s interconnected digital world, safeguarding online privacy has never been as crucial as it is now.
The emergence of Virtual Private Network (VPN) technology empowers both individuals and organizations to enhance their network security.
In this era rife with data breaches and online threats, the significance of the term “VPN” is increasingly pronounced.
A VPN is a technology that establishes a secure, encrypted connection over the internet.
In an age marked by rampant data leaks and network threats, protecting your online privacy is of paramount importance.
A VPN provides you with the necessary defense, shielding your personal information, browsing history, and sensitive data from prying eyes, hackers, and even Internet Service Providers (ISPs).
At the core of every VPN is encryption — an intricate process that transforms your data into an unreadable format.
When you connect to a VPN server, your device encrypts the data before it traverses the internet.
This encryption technology poses a formidable challenge to anyone attempting to intercept or decipher your online communications.
A VPN creates a secure “tunnel” through which your data travels.
This tunnel keeps your information shielded from the open internet, ensuring the confidentiality and security of your data.
It’s akin to having a private express lane on a bustling highway.
Your IP address serves as your digital fingerprint, revealing your location and identity.
A VPN acts as your secret tunnel to the internet.
It’s a technology that allows you to connect to the internet securely and privately.
When you use a VPN, your data is encrypted and sent through a secure server, making it nearly impossible for anyone to monitor your online activities.
A VPN can be compared to an online invisibility cloak.
It reroutes your network connection to a server located elsewhere, concealing your IP address and making it appear as though you’re browsing the web from the location of that server.
This not only enhances your network security but also grants you access to content that might be restricted in your region.
∮ Types of VPNs
VPN technology has evolved over the years, resulting in various types of VPNs to cater to different needs:
These VPNs are commonly used by individuals and remote workers to access their organization’s network securely. They allow users to connect to their workplace’s resources from anywhere in the world.
2. Site-to-Site VPN
Site-to-site VPNs are frequently used by companies with several offices to safely connect their scattered locations. This makes data sharing and communication possible.
3. Mobile VPN
Mobile VPNs are designed for smartphones and tablets. They ensure a secure connection, even when using public Wi-Fi networks, making them ideal for users on the go.
4. SSL VPN
SSL VPNs use the Secure Sockets Layer (SSL) protocol to establish a secure connection between your device and the VPN server. They are commonly used for remote access to web applications.
∮ Benefits of Using a VPN
By encrypting your online activities, VPNs shield your data from surveillance and tracking, preserving your digital privacy.
2. Bypassing Geo-Restrictions
VPNs allow you to access content and websites that may be restricted in your region. You can virtually change your location by connecting to servers in different countries.
3. Security on Public Wi-Fi
Public Wi-Fi networks are often insecure, making them a hotspot for cyberattacks. VPNs encrypt your connection, making it safe to use public Wi-Fi without risking your data.
4. Anonymity
By hiding your IP address, VPNs make it harder to identify you from your online activity. This anonymity gives yet another level of protection.
5. Secure File Sharing
For businesses, VPNs facilitate secure file sharing and communication among employees, ensuring the confidentiality of sensitive information.
In this article, we’ll delve into a selection of free VPN options, including Proton VPN, Urban VPN, and more.
Proton VPN: Your Guide to Privacy and Security Online
In this article, we will take you through the steps of installing Proton VPN ![]() service and discuss the benefits and drawbacks of its use.
service and discuss the benefits and drawbacks of its use.
Proton VPN is a Swiss-based VPN service that is highly regarded for its commitment to online privacy and security.
It was created by the developers of ProtonMail, an acclaimed encrypted email service.
The service has gained significant recognition in the realm of online security and privacy.
With Proton VPN, you gain free access to VPN servers located in the United States, Netherlands, and Japan.
The Proton VPN free plan is distinguished by its strict no-logs policy, which aligns with Swiss data privacy laws.
This ensures that your online activities remain private and secure.
Let’s explore the process of setting up Proton VPN and making your online presence more secure and private.
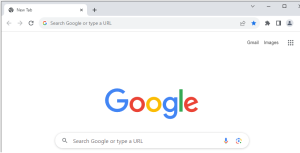
- Launch Your Preferred Browser: Open your choice of web browser, such as Google Chrome.
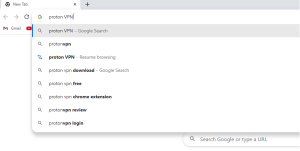
- Search for Proton VPN: Use the search bar to find the official Proton VPN website.
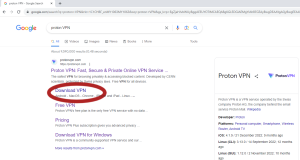
- Select the Free VPN: From the search results, click on the “Free VPN” option provided.
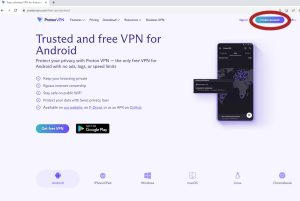
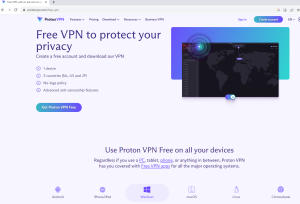
- Arrive at the ProtonVPN Landing Page: You’ll be directed to the ProtonVPN landing page.
- Create a New Account: Click the “Create account” button in the top-right corner to get started.
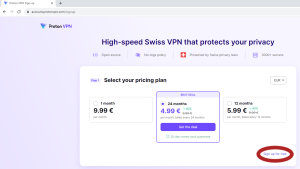
- Sign Up for the Free Plan: In the pricing plan section, select “Sign up for free” in the bottom right corner.
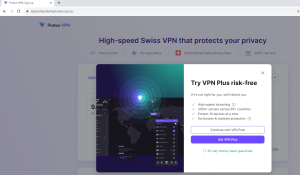
- Begin Account Creation: A new window will open; continue by clicking the “Continue with VPN Free” button to set up your account.
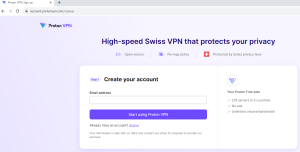
- Enter Your Email: Provide your email address and click “Start using Proton VPN“.
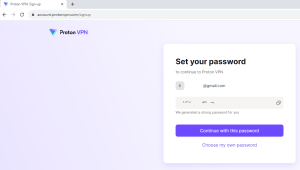
- Password Setup: Proton VPN will either assign a random password or allow you to set your own. Once this is done, proceed with logging in.
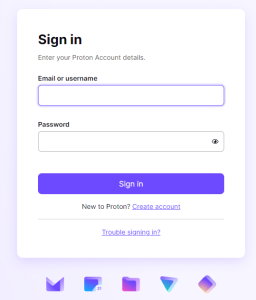
- Log in to Your Proton VPN Account: Use your new credentials to log into your Proton VPN account.
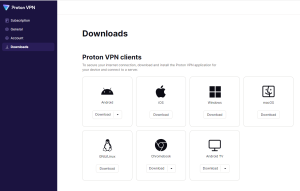
- Download the VPN Client: From the left menu, select “downloads“. The VPN client tab will appear on the right panel. Choose the appropriate client to download.
- Alternative Download: Alternatively, you can download the client from the landing page by selecting your device from the list at the bottom.
- Download the Installer: For example, if you choose a Windows device, click the “Get Proton VPN Free” button to download the installer.
- Install the VPN Client: Locate the ProtonVPN.exe application in your download folder and run it to install the VPN client. Click it twice, then follow the installation instructions.

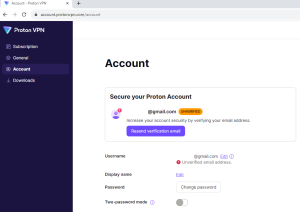
Double-click to install Proton VPN client - Account Configuration: Before using the VPN, return to the Proton VPN page and click on “Account” in the left menu.
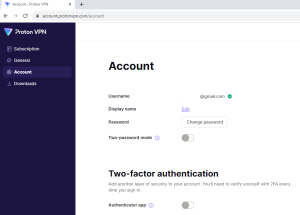
- Verify Your Account: On the right frame under the Account label, you’ll see that your account needs verification. Go to your email account for this step.
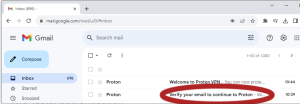
- Email Verification: Log in to your email and locate the verification email from Proton VPN. If you don’t receive it, go back to your Proton VPN panel and click on “Resend verification email”.
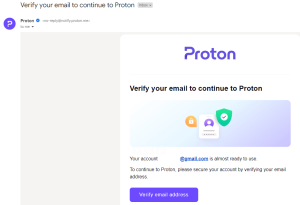
- Complete Email Verification: Access the email and follow the instructions by clicking on the “Verify email address” link.
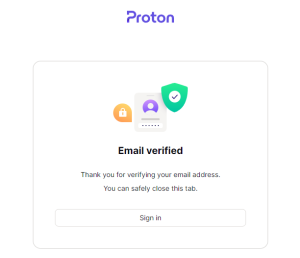
- Email Verification Confirmation: Upon completion, you’ll receive confirmation that your email is verified.
- Verified Username: Return to the Proton VPN panel, and you’ll now see that your username is verified.
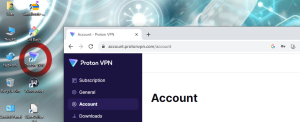
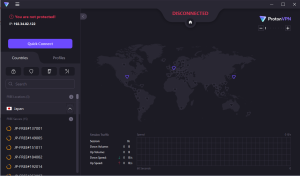
- Launch ProtonVPN: Open the ProtonVPN client from Windows by clicking on the icon.
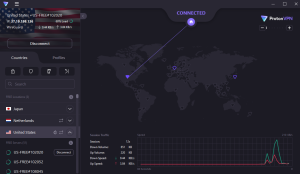
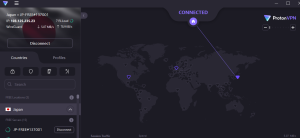
- Automatic Connection: The client will automatically connect you to the ProtonVPN server. For instance, the screen will indicate your connection to a United States VPN server.
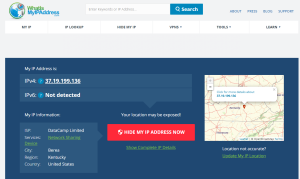
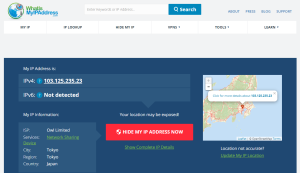
VPN IP Verification: To confirm your new IP location, you can use a service like WhatIsMyIPAddress.com
 , which will display your IP according to the connected server: Kentucky, United States.
- Access Geo-Restricted Content: Visit websites like YouTube to see that your content is now based on your server location.
- Switching VPN Servers: To change your server to another country, click the “Disconnect” button. Then, select your desired server from the available list and click “Connect.”
- Reconnecting to VPN Servers: Select your desired server from the available list, such as a Japan server, and click “Connect“.
- VPN IP Check: Use WhatIsMyIPAddress to verify your new IP location, which will now correspond to the selected server’s location: Tokyo, Japan.
- Accessing Content from Different Regions: When you revisit websites like YouTube, you’ll notice that your content reflects the new server location.
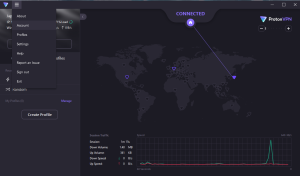
- Access Account Details: In the top left corner of the Proton VPN panel, you’ll find an icon with three bars. Click on it to access your account details.
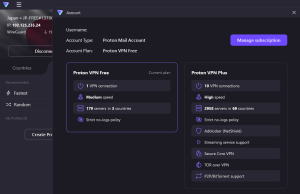
- Review Account Details: A window panel will pop up, displaying your account information.


Congratulations, you are now fully equipped to use Proton VPN securely and privately!
∮ Pros of Using Proton VPN
- Security and Encryption:
Proton VPN places a strong emphasis on security with robust encryption methods. Your internet traffic is shielded from prying eyes, ensuring the confidentiality of your data. - Strict No-Logs Policy:
Proton VPN is known for its strict no-logs policy. They do not maintain records of your online activities, making it impossible for anyone to trace your digital footprint. - Global Server Network:
Proton VPN boasts an extensive network of servers worldwide, allowing you to bypass geo-restrictions and access content from various regions. - High-Speed Performance:
Unlike some VPNs that may slow down your internet connection, Proton VPN is recognized for its high-speed performance, offering seamless browsing and streaming without interruptions.
∮ Cons of Using Proton VPN
- Limited Free Plan:
While Proton VPN provides a free plan, it comes with certain limitations. Free users have access to a limited number of servers, and their speeds may be slower during peak times. - Slightly Higher Pricing:
In comparison to some other VPN providers, Proton VPN’s premium plans are slightly more expensive. Nonetheless, many users find the added security and privacy features to be well worth the cost.
Urban VPN: Your Ultimate Guide to Free, Fast, and Anonymous Browsing
Welcome to our in-depth exploration of Urban VPN ![]() , the world’s only 100% FREE, 100% fast, and 100% anonymous VPN.
, the world’s only 100% FREE, 100% fast, and 100% anonymous VPN.
Urban VPN is here to safeguard your online identity and data by establishing an encrypted connection between your device and its servers, ensuring your internet traffic remains secure and private.
In today’s digitally interconnected world, where online privacy and security are paramount, Urban VPN has gained immense popularity as a reliable tool.
Compatible with various devices and operating systems, including Windows, macOS, Android, and iOS, Urban VPN provides a versatile and accessible solution for your online protection.
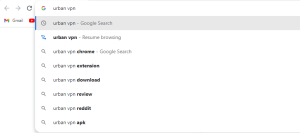
- Open Any Browser and Type in Urban VPN: Begin by launching your preferred web browser, e.g. Google Chrome.

Launch Google Chrome browser - Search for Proton VPN: Use the search bar to find the official Proton VPN website.
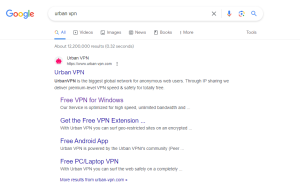
- Find the “Free VPN for Windows”: From the search results, locate the “Free VPN for Windows” option and click on the link.
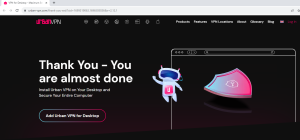
- Urban VPN Landing Page: Your browser will take you to the landing page for Urban VPN. To continue, only click the “Free Download” link.
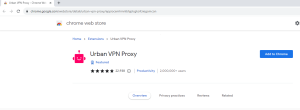
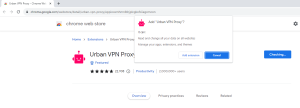
- Urban VPN Proxy Side: You’ll then be redirected to the Urban VPN Proxy page.
- Add the VPN Proxy as an Extension: On this page, select “Add to Chrome” to add the VPN Proxy as an extension to your browser.
- Accept Extension: There will be a pop-up window. Click the “Add extension” option to install the extension.
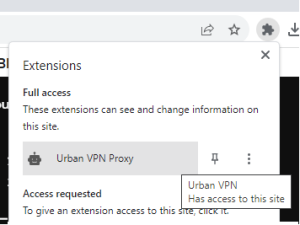
- Access the UrbanVPN Extension: Once you’ve added the extension to your Chrome browser, click on the extension icon on the top-right bar. This will display your list of extensions. Click to open the UrbanVPN extension.
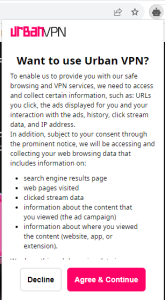
- Initial Setup: When you launch the extension for the first time, simply click “Agree & Continue” to complete the setup.
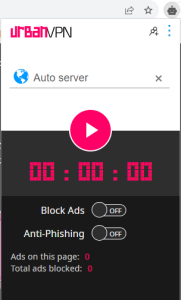
- Access the UrbanVPN Control Panel: After the setup is complete, you’ll see the UrbanVPN Control Panel.
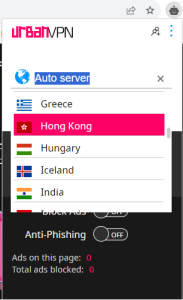
- Connect to Urban VPN: To connect to the Urban VPN server, click on the red round start button.
- Choose Your Location: You can also select your desired country from the list. For example, we’ve chosen to connect to the “Hong Kong” server.
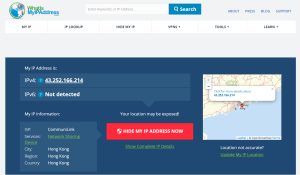
- Verify Your IP: After connecting to the Hong Kong server, use WhatIsMyIPAddress.com to verify your IP, which will now reflect the location of the server: Hong Kong.
- Access Geo-Restricted Content: Visit YouTube website to see that your content is now based on your server location.
Embarking Urban VPN journey is a breeze, you can confidently explore its VPN service and enjoy a safer, more secure online experience!
∮ Pros of Using Urban VPN
- Security and Encryption:
Urban VPN ensures robust encryption methods, fortifying your data against potential threats. This makes it challenging for cybercriminals to intercept your online activities, thus enhancing your security. - Global Server Network:
With a widespread network of servers across the globe, Urban VPN allows you to access content from diverse regions. Bypass geo-restrictions and enjoy a more enriched online experience. - User-Friendly Interface:
Urban VPN boasts a user-friendly app design, making it accessible for both novices and experienced users. The interface is intuitively designed to provide a smooth and hassle-free VPN experience. - Cost-Efficiency:
A significant advantage of Urban VPN is its free plan, which caters to users with budget constraints. You can enjoy essential VPN services without incurring any costs.
∮ Cons of Using Urban VPN
- Limited Features:
Urban VPN, while securing your connection, lacks some advanced features commonly found in premium VPN services. Users seeking dedicated servers for streaming or gaming might find it lacking. - Browser Tracking:
To maintain its free service, Urban VPN keeps logs of the pages you visit and search engine results in exchange for its sophisticated service. - Privacy Concerns:
Given Urban VPN’s free plan, some users may raise questions about the level of privacy it offers. Free services often come with concerns about data handling.

